Houseplant 101
Wanted to share some general knowledge in buying plants and caring for them from my personal experiences.
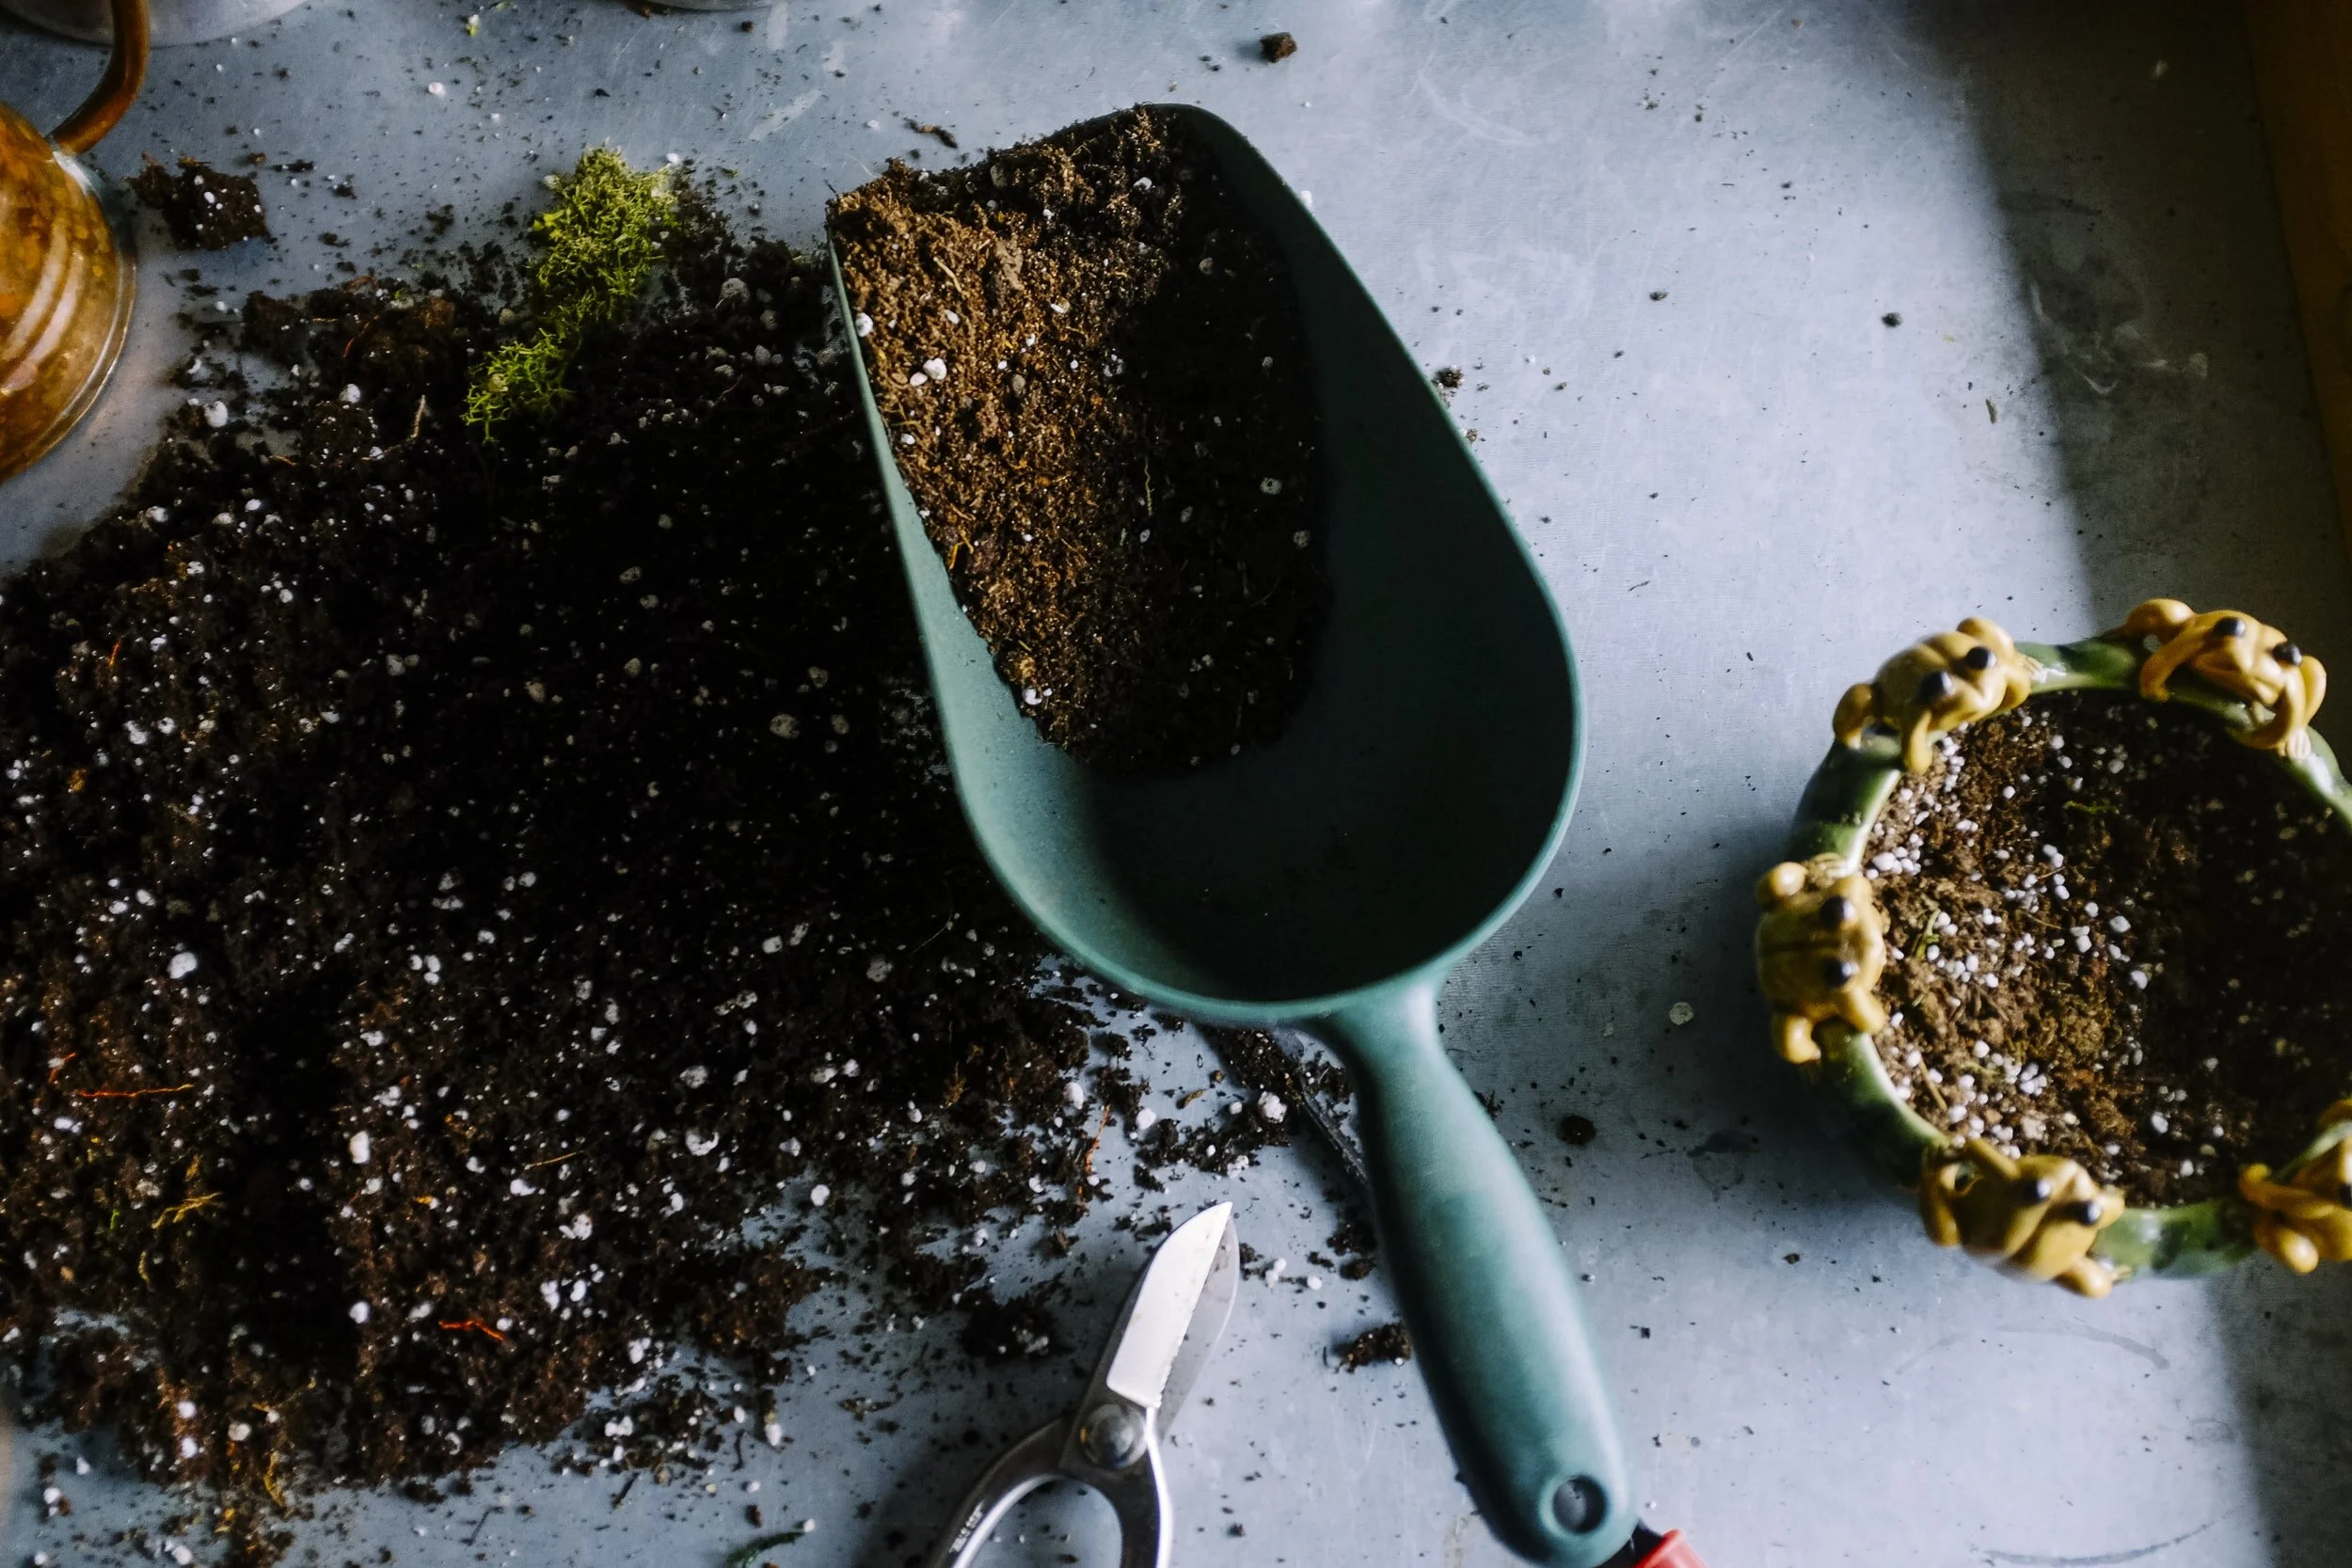
Soil.
Buying plants in a shop vs. online are definitely different, but the procedure when I bring a plant into my home is pretty much the same. Normally buying plants in a supermarket, the plant would’ve been neglected or overwatered. The soil will either be too dense or too wet, and sometimes you can see gnats flying around — a bad sign! But some plant shops have better quality plants that I opt for as they bring fewer problems.
Many people would disagree with me but I normally repot the plants and change the soil as soon as they get into my home unless they are from sellers that I 100% trust. Why? Because some potting soil is so dense I would rather have something that allows air circulation around the root system. Still, I don’t want fungus gnat larvae if there’s any in that soil! Please keep in mind that some sellers have a warranty system for X amount of days where you would have to keep the plant in the pot and substrate, and if it dies, you could get a refund! So make sure you read the policy.
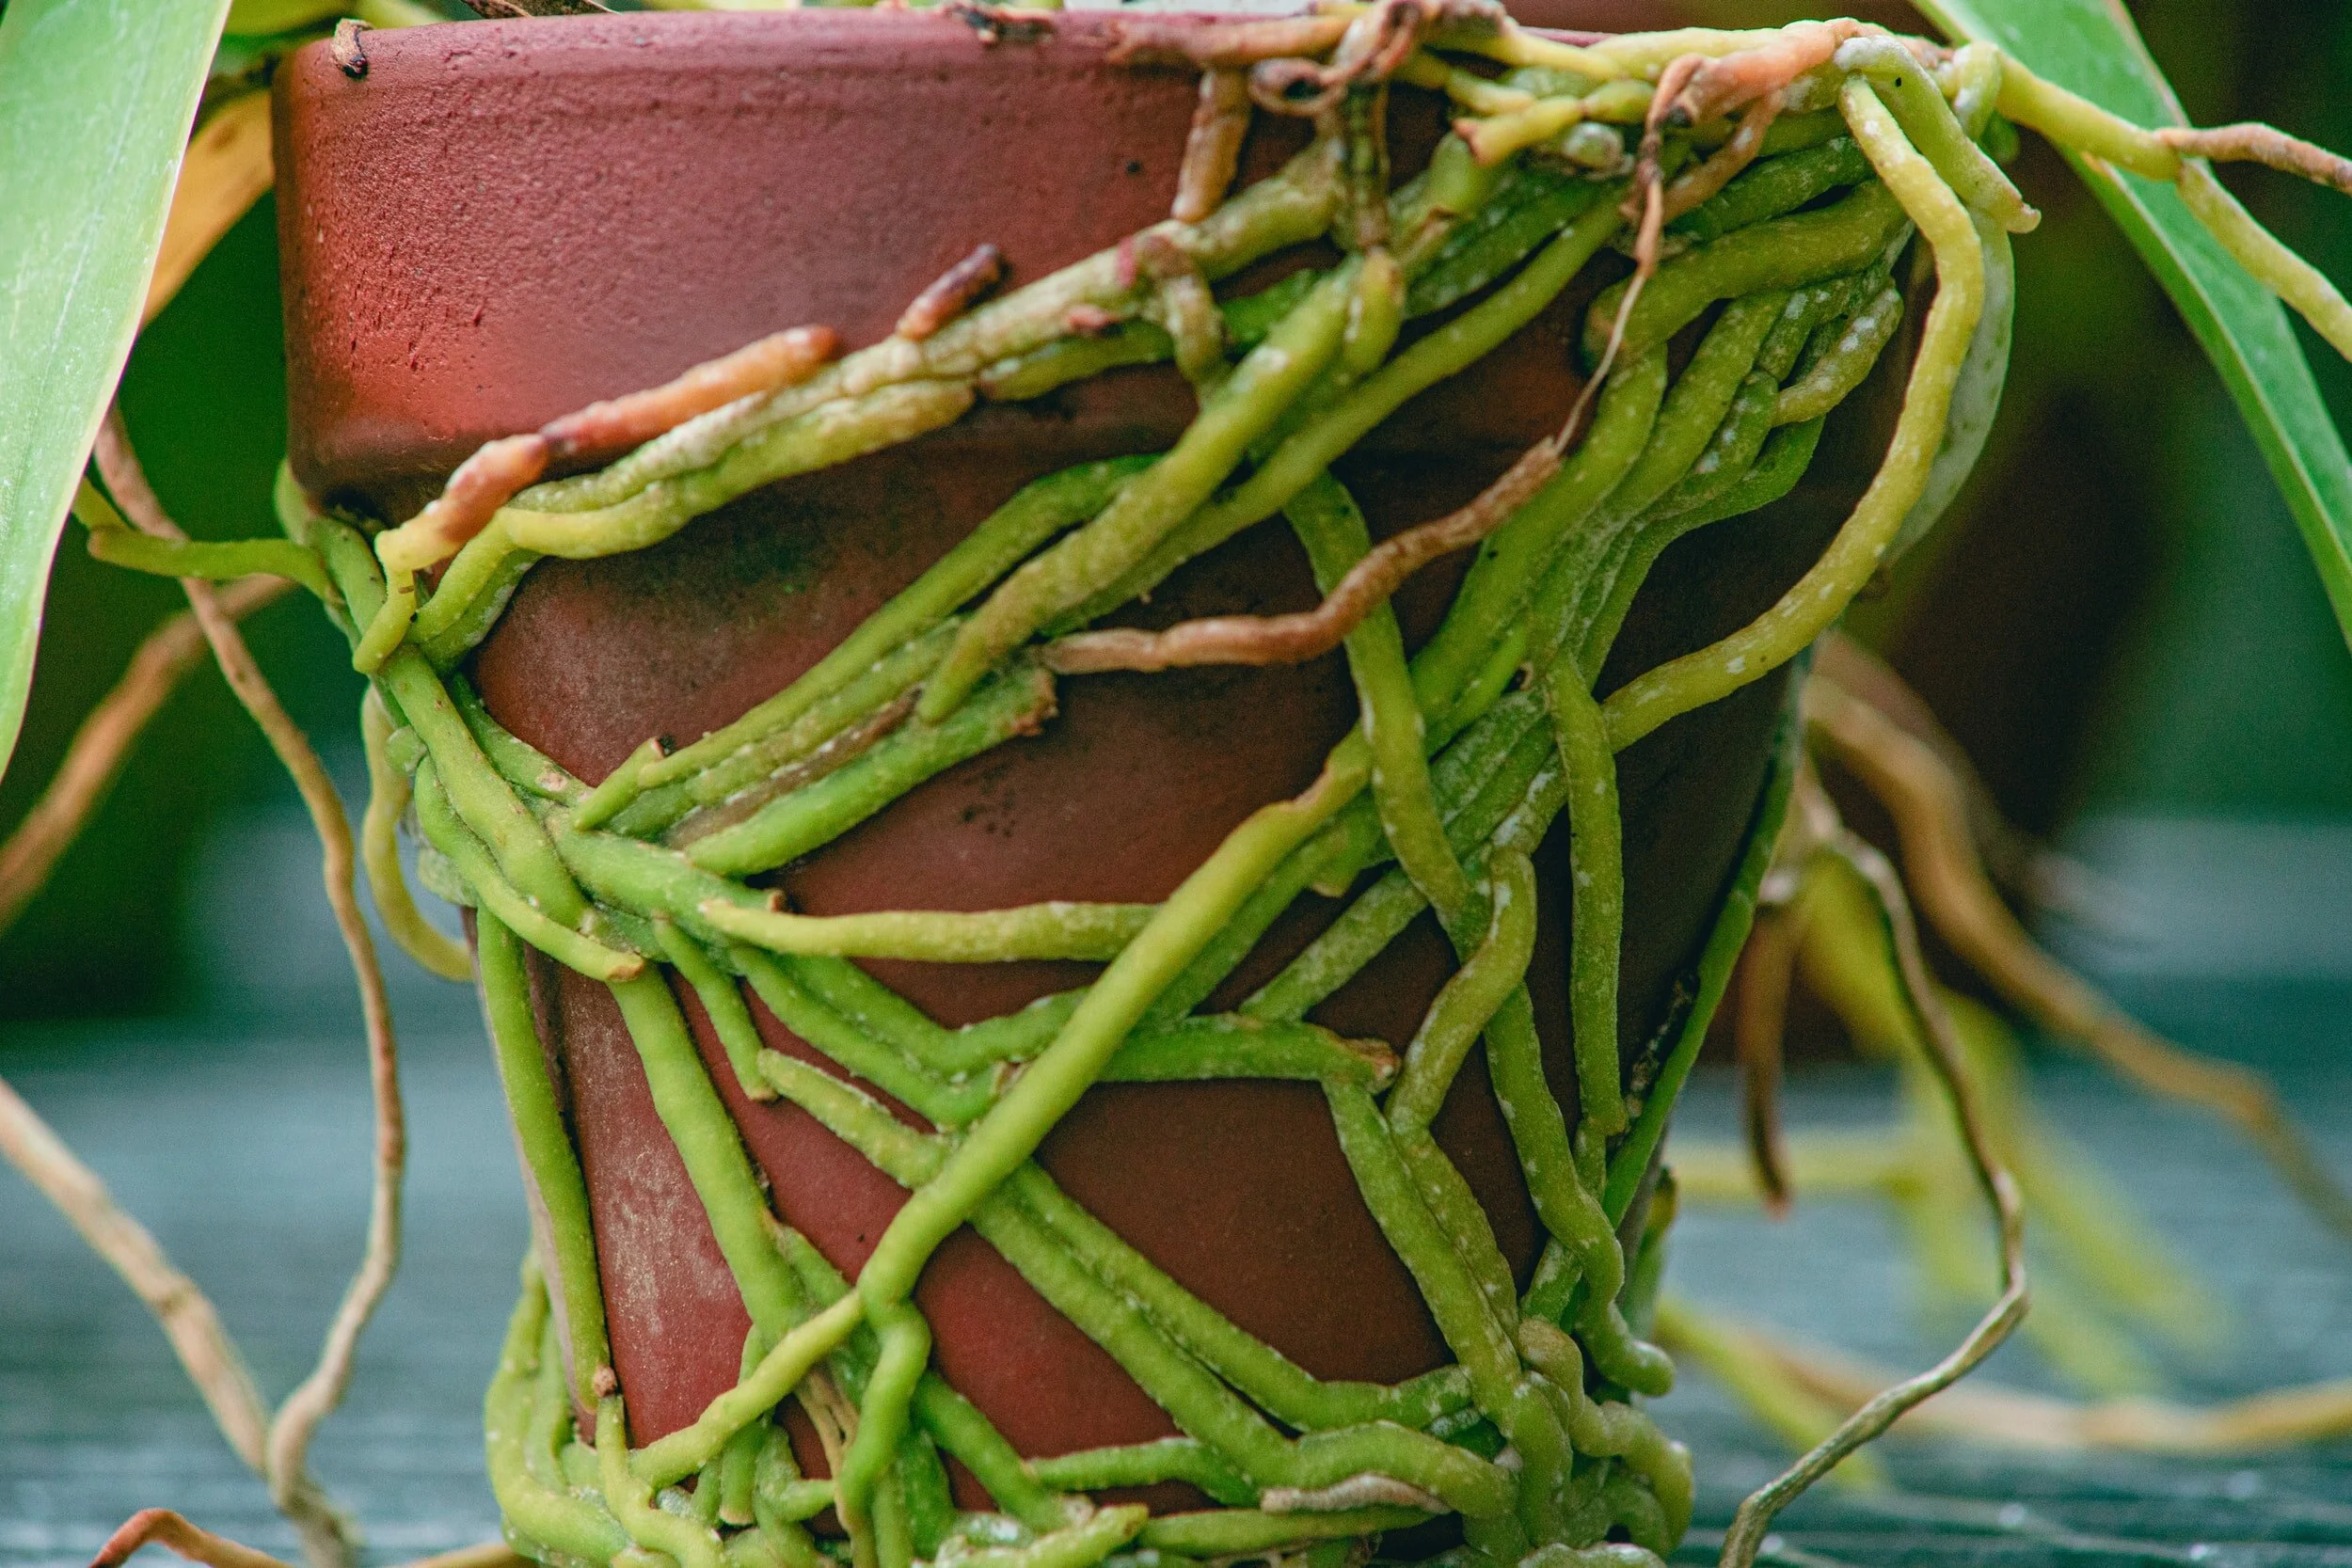
Roots.
Roots are key for me in plants surviving or not. If I’m in a physical shop, I would take the plant out of the pot, take a look at the root system or even just look at the bottom to see if roots are escaping the drainage holes. On the other hand, if you have ordered the plant online, upon arrival, if the soil is super wet, I would check the roots as some or all the roots may be rotting in many cases. If this happens, I would cut off the rotted roots and change the soil as those pathogens (bacteria) in that substrate could trigger further root rot. Depending on the situation, for example, if I was left with almost no roots on a plant, I would normally put it in sphagnum moss instead.
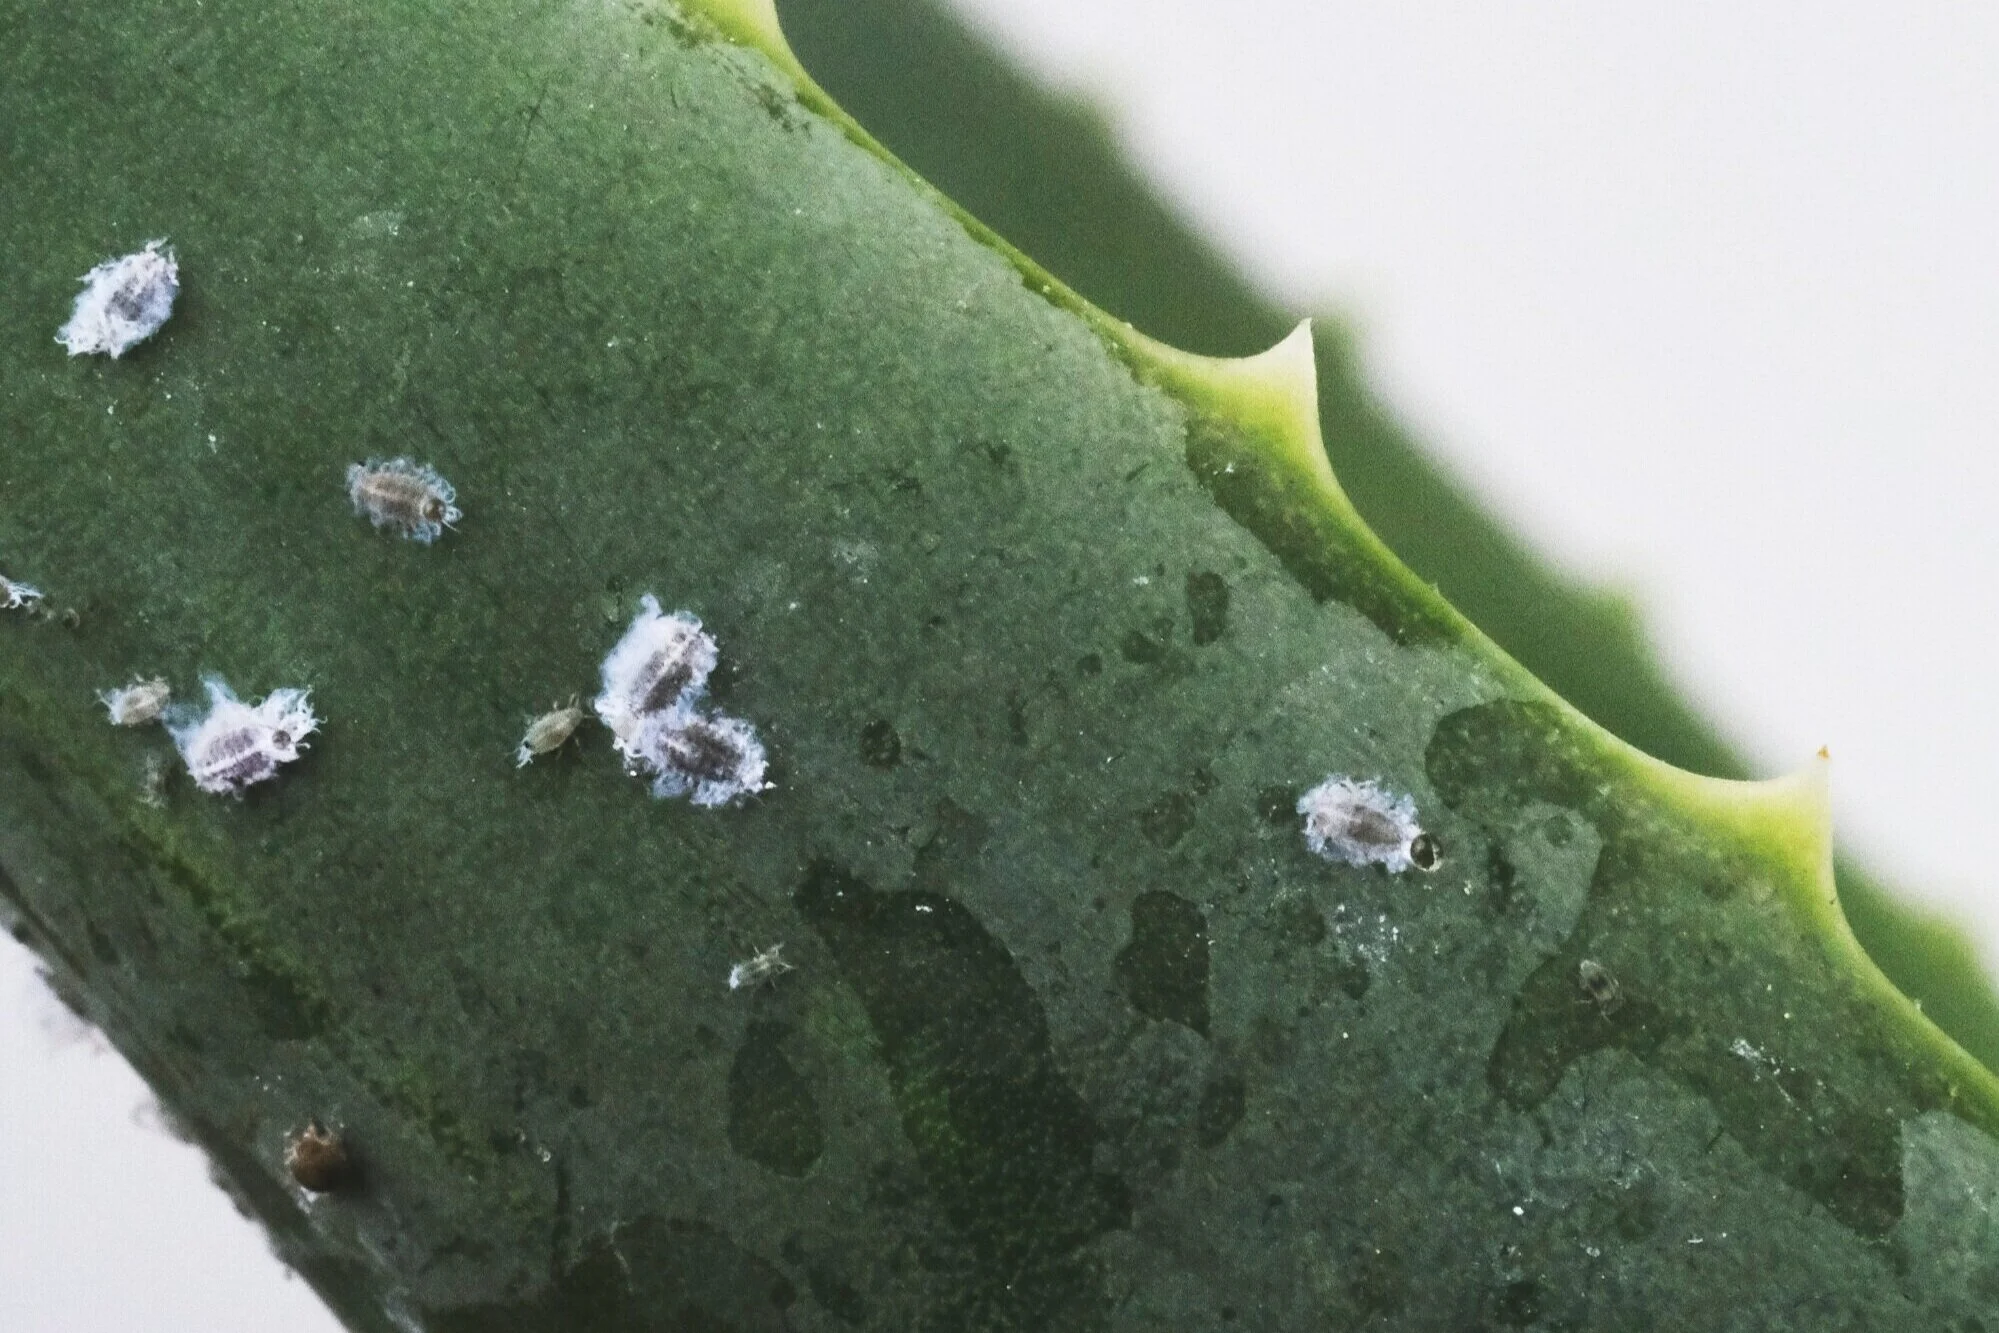
Pests.
THIS can truly fuck up your existing collection if you bring pests into your home. Sellers should make sure that the plants are pests free before selling and, as buyers, inspect the plant — at the shop and when it arrives. And ISOLATE new plants… like far away from your collection or in a container, social distance it lol. I cannot stress this enough as it's really not worth destroying other plants when pests spread like rapid fire (especially thrips). Fungus gnats are okay for me as they're more of the milder pest that can be dealt with, and you can see them physically flying out of the parcel sometimes, I know… gross. Mealy bugs might be a one off (big white fluffy gross thing) but check for eggs around the plant's petiolar sheath. Check under the leaves for spider mites — they can be white or red tiny critters slowly crawling on the foliage. NOW, if you see thrips (elongated long black insect, larvae are white), burn the plant… joking… just DON'T put it near other plants as that shit will spread fast. Apparently, they can embed themselves in the plant tissue and hibernate for a season too, so just be very careful and mindful of the damage they could bring. *More in depth content on how to tackle infestation will be updated soon!

Light.
This was a difficult one for me to learn because when I started collecting plants, they were all in a south facing conservatory, aka LOTS of light and it was out of my control. Of course the initial plants I started purchasing and collecting were mostly common plants that aren’t fussy with light and Philodendrons that loves more light anyways. Everything was growing well so I honestly wasn’t bothered about reading into it or investigating the technical side of it. Once I moved into Anthuriums, they were fine but after looking at accounts with more Anthuriums, I started noticing a few people having them in super low light. This was when I started giving more time looking into the topic and understanding what each plant need or don’t need.
First of all, I would highly recommend getting a light meter to identify how much light your plants are currently receiving so you can understand your environment more, then use this information to compare with how much light your plants actually need. I have a highlight called ‘Light’ on my highlights, and I would also highly recommend checking out Jacob’s (@aroidstudio) highlight section too called ‘Lighting 101’. Other resources could be found in the resources page.

Watering.
Watering depends on many factors such as what substrate you are using (dense of airy), weather, and even pots you use. At the start of my plant journey, I really struggled because I always find that the bottom leaves of my plants would go yellow, and that can mean over-watering or under-watering — I know, confusing.
When I first started accumulating more plants, I moved all my plants into terracotta pots as they are more porous and basically can help absorb excess water; although this was quite a task during summer as the soil dried out very quickly! I think it was a really helpful alternative but I kept dropping and breaking them, so that wasn’t fun!
When choosing substrates, I used to put most my aroids in very chunky airy mix so there is air flow around the root system. I also used clear pots which really helped me in determining whether the substrate was dry or not.
Weather or different season of the year also requires more or less watering. In the summer you will find that your soil will dry out a lot faster while in winter, you may end up watering a plan 1-2 times per month even.
But how do you know when to water?!
The basic dip your finger in to check if the soil is wet or not, or you could use a stick.
Use a moisture meter but I’ve seen that sometimes this isn’t as accurate, so I would definitely read the reviews!
Opt for a self-watering system. Since I’ve fully moved all my plants into pon and a self watering system, just making sure that the water meter is not empty have saved so much time personally!
When the foliage is literally so dry and sad looking, it is telling you it needs a drench! Plants I own such as the Scindapsus Pictus Trebie, Fittonias, and Marantas will show signs, and you will know. On the other hand, Philodendrons are less forgiving and the leaves will immediately go yellow!
Another tip in making sure that your soil isn’t too wet is aerating the soil. You bascially perforating or poke holes in the soil to allow air flow which can help the soil dry faster with these air pockets. I normally use a chopstick and just poke when the soil is looking on the wet side.
Humidity.
Here’s the thing, I truly believe that plants can adapt to new environments — but optimising the environment to mimic what they are used to in their natural habitat would probably be a good idea. Depending on where you are in the world, this might not be a problem! But for me living in the U.K., the air can get very dry especially during colder months when the radiator is on. I’ll admit that at the start, I thought a warm home equals higher humidity aka. me having the radiator on helps…oops, how wrong was I?! Humidity is water vapour that exist in the air, in this case, in your household. I realised this was a big part of helping plants thrive when I owned a few Calatheas as those edges got crispppppyy when the humidity was around 40%. Currently, my plants sit at a minimum of 60% humidity in the living room while the humidity in the Ikea Cabinet stays above 70%.
A few options in boosting the humidity in your home are:
a) Humidifiers — there are small affordable options on Amazon which would be enough if you have a few plants that requires higher humidity or larger ones which can cover a bigger area!
b) Having an enclosed space such as the Ikea cabinet, domes, or large plastic storage boxes are also super practical and afforable!
c) Pebble trays under plants as the water rises into the air is the next option. You can put pebbles or even leca balls in a tray filled with water.
d) Misting is a tricky one as I personally feel like it depends on the plant BUT theres a lot of controversy if it actually works. From my experience, Anthuriums with thicker foliage such as the Anthurium Waroqueanum and A.Clarinervium hates having water on the foliage for prolonged periods as it causes yellow spots (fungal infection), although this can be prevented by increasing the air circulation to ensure leaves dry out.
e) NOW, this I swear by because I’ve been doing it since I’ve started. It sounds dumb but it really works for me — boil water in the kettle and just put a few mugs full of boiling water around your plants. Don’t put it directly under as it might ruin the foliage, but just in the area!

“It all begins with an idea. Maybe you want to launch a business. Maybe you want to turn a hobby into something more. Or maybe you have a creative project to share with the world. Whatever it is, the way you tell your story online can make all the difference.”
— Squarespace